This post will be about how to create a bookcase in Maya 3D modeling. This skill could be useful when you need a quick way to add a little extra detail to your Maya scene. This tutorial allows beginners to Maya or anyone looking for a quick way to add that little something extra to their scene to have a easy way to add a decorative piece that is functional and easily can change to fit their needs.
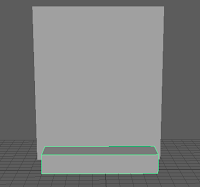
 1st: Create a large rectangle and name it bookcase, this should be the size you want your final bookcase to be.
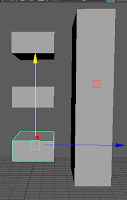
 2nd:create another rectangle and name it shelf, this will be the size of the space that will be cut out to create a shelf.
3rd: Duplicate the shelf 2 times (command D) and move the copies up so that they line up with where you want your 3 shelves to be on the bookcase.
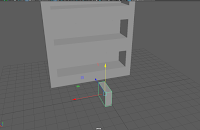
4th: Next move the shelves so that they are in the bookcase and taking up the room you want them to cut out.
 5th To create the books to go on the shelves first create a rectangle about the dimensions you want, this is easier if you do it close to the book case so you can see if your height will line up.
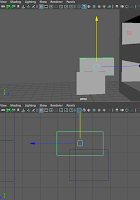
6th: Then duplicate the book and scale the copy down a bit so you can place it on top and cut out a space to make a more realistic cover look. (Shown left)
7th: Adjust the book to your liking then duplicate it 3 times creating 4 books. Use Lambert to add a color to the books making each a different color.
 8th: Use the face select mode to chose just the top face of the book where it is indented and make it the color of pages of a book.
Then add a brown Lambert to the bookcase
9th: Now that you have your 4 types of books make lots of copies of each and start lining them up on the shelves of the bookcase.
 The final product should like look the picture to the left and if it does then congrats you have a great bookcase to add to one of your models.
No comments:
Post a Comment